Display your summer and fall blooms all year long.

I love always having a jar full of fresh flowers in my space, from fluffy hydrangeas to delicate peonies to fiery birds of paradise—especially when they’re snipped from my family’s garden. Alas, these bouquets are fleeting, but it is possible to extend flowers’ beauty by drying them.
Here are three ways to preserve your backyard or cutting garden’s floral bounty or that of your local CSA, farmers market or florist. You’ll have flowers even in the colder months, and it will save you a little money on arrangements, too.
Remember, with so many different flowers and climates, you may need to test out and tweak which method works best for different types of blooms and, of course, which you enjoy most.

Photo by galsand, Shutterstock.
Air Drying
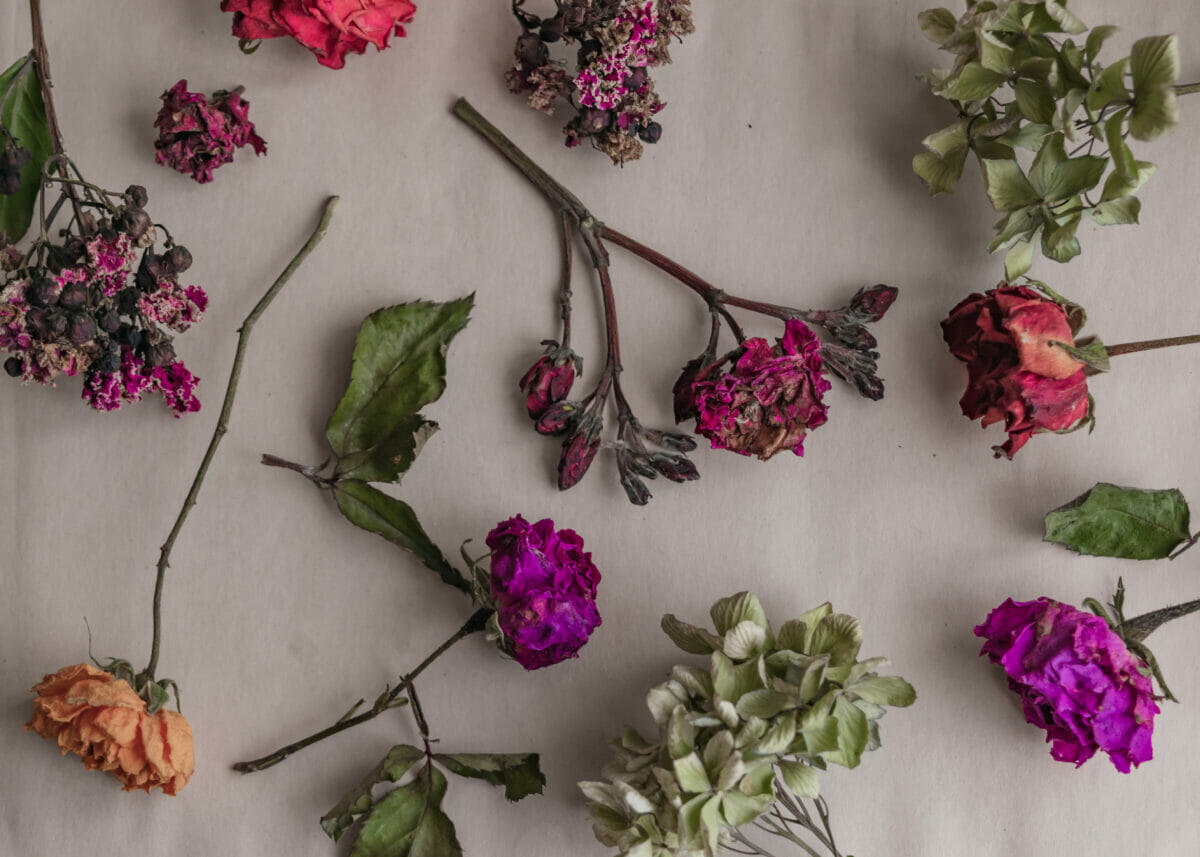
The simplest way of drying flowers is to hang and air dry them. Flowers that work well for air drying are those with strong stems and a low water content. Some good candidates include Acroclinium, baby’s breath, bachelor’s button, Bells of Ireland, cockscomb, globe amaranth, larkspur, sea lavender, statice, strawflower and arrow. Many grasses, such as pampas, and plants, such as cattails, also air dry well and look great in dried arrangements.
You can harvest flowers for drying any time during the growing season, although you’ll want to pick blooms before they’re fully open, as they’ll continue opening during the drying process. Ideally, cut the flowers on a sunny morning after the dew has dried. Make sure to collect more than you think you need as you’ll likely lose some—they’ll shrink during the drying process, too. Leave at least five to eight inches of stem, and consider putting your stash of just-cut flowers in water to keep them from wilting as you continue to pick additional flowers.
Once you’ve gathered your haul, remove all leaves and foliage from the stems. Then, tie a couple together (and more for smaller, delicate flowers like baby’s breath) with a string or a rubber band. You may need to lend flowers that have very fine stems a little extra support by adding wire to the stems. In a space that’s warm, dry and gets good air circulation—such as an attic, garage, shed or barn—hang the floral bundles upside down from hooks or on a clothesline. Avoid placing flowers in the direct sun, though, as that will zap their color. Flowers will usually dry in two to three weeks, but check on them earlier if you live in a particularly hot climate.

Photo by Aloha_mooPiG, Shutterstock
Drying Agents
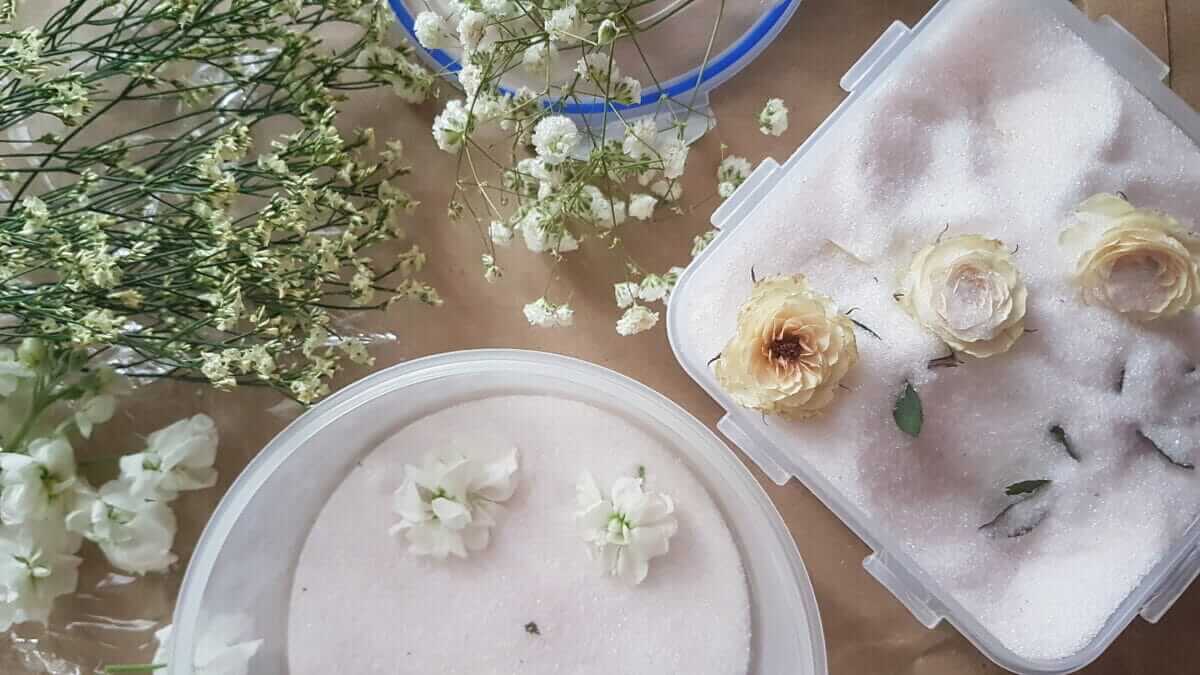
Some flower preservers prefer drying flowers with a desiccant, or drying agent, such as sand, borax or silica gel. Using these materials can help retain the color and shape of flowers better, and it will dry plants more quickly than air drying (think: a couple of days versus a few weeks). Flowers that dry well using this method include: annual larkspur, dahlias, delphinium, marigolds, plumed celosia, roses, salvia and zinnias.
To dry flowers with any of these desiccants, the general method involves carefully burying blooms in the drying agent inside of a container.
Silica gel, commonly found at craft stores, is effective and reusable many times over. It’s not actually a gel but a granulated substance. It should not be eaten or ingested, and make sure not to reuse containers that housed the gel to store food.
In the bottom of a shallow, flat-bottomed, airtight container, spread a one-inch thick layer of silica. Place the flowers on top of the silica, then carefully pour more silica in over the blooms until they are completely covered (careful not to crush them!). Seal the container and leave anywhere from three days to a week. Check every few days and gently remove them when they’re dry but before they get too brittle.
For an even speedier drying process, you can use the microwave after preparing the flowers and silica as in the previous method. Just make sure your container is oven-safe, and don’t use the cover while you cook. Time required varies based on the flower, but you can microwave for one to three minutes, checking the petal progress often. Once they’re dry, cover the container, leaving the lid cracked slightly, and leave the flowers in the container for at least a day and up to two days.

Photo by Kiryliuk Sviatlana, Shutterstock
Pressing Flowers
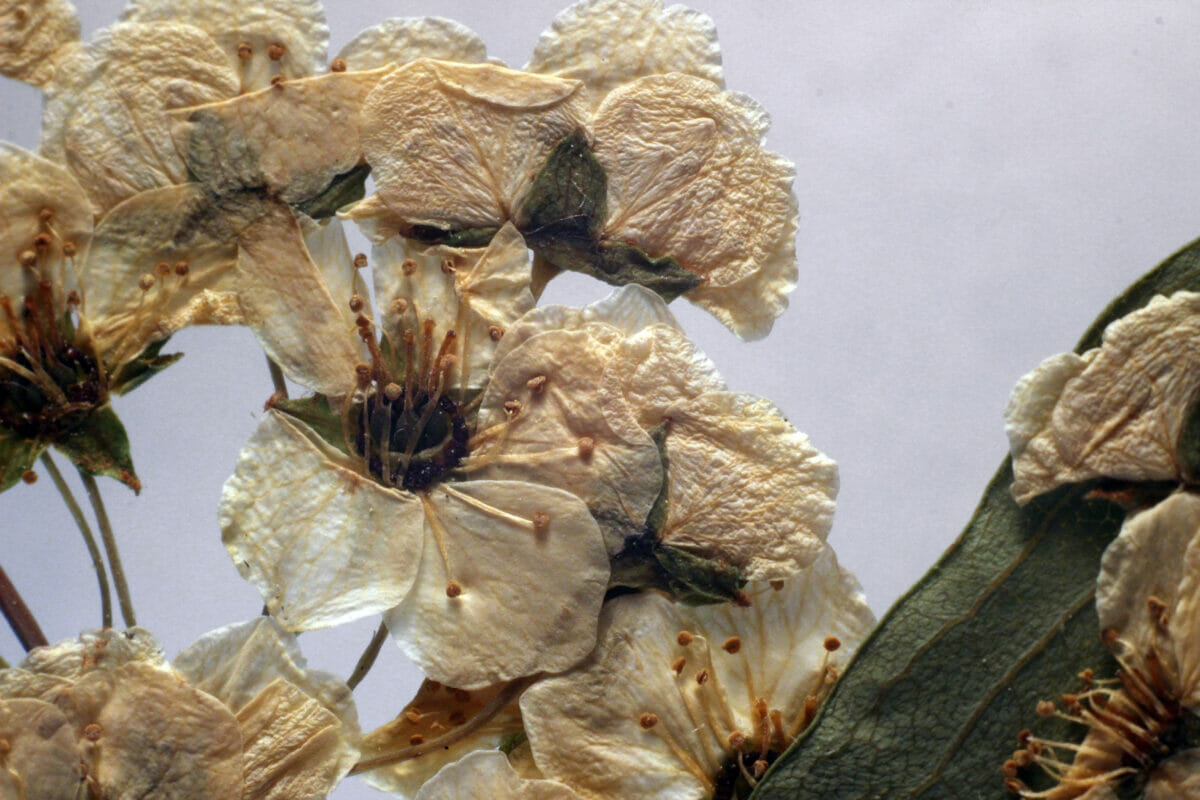
Like hang drying, pressing flowers is another natural method of preserving blooms. You can frame pressed flowers, add them to stationery, use them as bookmarks or in garlands. Flowers with flatter structures, such as pansies, geraniums and daisies, are easiest to press. While you can buy a special flower press, an easy, common method is to place small flowerheads between sheets of newspaper or wax paper in the middle of a hefty volume such as an encyclopedia—or old college textbook—and place more books or weighted materials on top. Check them in the first 24 to 48 hours to make sure there’s no excess moisture, which could lead to mold, and then weekly; if they’re not yet dry, change the paper and return them to pressing.
You can also use the microwave here! Take the book and put it in the microwave oven, checking it in 30-to-60-second increments until dry. Once almost dry, let the flowers stay in the book for a day or two. You can also fashion a microwavable press out of two, non-metallic ceramic tiles, sandwiching the flowers in between paper towels, with the tiles on the outside, and secured with rubber bands. Again, microwave for short bursts, making sure flowers are dry and tiles are cool enough to handle before you remove them from the oven, and then finish the flowers off with the book method for a couple days.
How to Care for and Store Dried Flowers
Dried flowers aren’t mirror copies of their fresh counterparts, and they will have darkened or changed colors and diminished size. They also sadly also won’t last forever. Once you’ve gone through the work of preserving your tiny blossoms or grand bouquets, there are a couple of things you can do to keep them looking great for longer.
You can try spraying your finished dried flowers with hairspray or acrylic spray to further protect them from crumbling.
You’ll also want to keep them out of direct sunlight to keep them from fading, lightly dust them to keep them clean and keep them away from heaters, too.
If you’re not displaying them, prevent your dried beauties from getting crushed by putting them in a tight-fitting container that won’t let in excess moisture or insects.
And remember: There’s always next season to repeat the whole process again.